Finding "Great Lighting" for Better Portraits
I hear a lot of talk about great lighting these days. It seems like average consumers are becoming more aware about lighting, and are aware that great lighting creates great pictures. There are certainly other elements to great pictures, but lighting is the one that I hear most of my clients talking about. They acknowledge that lighting is an important element, and they are willing to let me do whatever I need to do in order to get the lighting that will make them look great. If more education leads to more understanding of my craft (and therefore more cooperation) then I'm all for education.
But what exactly is "great lighting," and how do you know what lighting you need to achieve that certain look? Well, I hate to say it, because it sounds so cliche. Great lighting depends on what you're trying to achieve, and you'll know how to achieve that look through experience and practice. Great lighting can have hard shadows or soft shadows. It can be flat, or it can be directional. It just depends on what look you want. Once you know what look you want, achieving it is a matter of knowing what lighting you need in order to make it happen. Knowing what lighting you need comes with education and experience.
Combine increasing knowledge about lighting with advancing technology, even average consumers can begin to create pictures with great lighting. I was messing with a friend's new iPhone 8 camera. Within the wonderfully new "Portrait" mode, it now has different modes to achieve different types of lighting. The different lighting modes create different moods. Nice. I suppose it was like a filter that you can apply before you even take the picture. But before you start getting all creative with lighting, I think you need some basic concepts of portrait lighting and how to achieve a good standard portrait. Once you understand the basics, then you have a good foundation to start branching off of.
Let's get into some of that education so that you can hopefully achieve some of your own great lighting. If you're reading this, you're probably a photography enthusiast or hobbyist. Or maybe you're a mom hoping to take better pictures of your kids. If that's you, you're my kind of person. Natural lighting is all you have time for, especially if you have little ones. You probably don't have time to chase them around with fancy lighting equipment, so you'll take whatever lighting is easiest and available. So let's focus on natural lighting outdoors. Natural lighting is the most practical, because it takes the least amount of time to use. That's great for you because it also takes the least amount of time to learn about.
Most of my clients are families and wedding couples. What are the qualities of lighting in these types of portraits that are the most pleasing? With these types of portraits, we usually want to see even lighting - meaning that all subjects are lit equally. And we like to see soft shadows instead of hard shadows. Again, I'm not talking about achieving creative looks. That's another topic for another blog post.
Some examples of even lighting vs. uneven lighting. These are some shots from a quinceañera.
In this shot, the Damas is brighter than her Chambelanos. The difference in lighting draws focus to her.
All subjects are evenly lit. The lighting here creates a different story than the previous photo.
Some examples of hard shadows vs. soft shadows. Hard shadows have a distinct line in the transition from light to shadow. Soft shadows have a smooth and gradual transition from light to shadow.
This image has hard shadows. You can see a clear and defined transition from light into shadow. It looks like a hard line. Light and shadow is used to create a more dramatic effect.
This image has soft shadows. It's difficult to see where light transitions into shadow. The lighting creates a softer effect.
So when you're trying to take "just a nice portrait" of your kids, or your family, what are the types of things that you need to look for to set up the shot?
1. Time of day. The position of the sun matters. The most pleasing outdoor natural light occurs when the sun is low, in the morning and in the late afternoon. When the sun is low, it's a larger light source than when it's high. Larger light sources create soft shadows. Smaller light sources create harder shadows.
This part of the senior portrait shoot was taken at 8:45am. The sun is lower and it's easier to achieve soft shadows.
This part of the shoot was taken just one hour later. The sun was higher and it was more difficult to achieve soft shadows, especially with a horse who doesn't always cooperate :)
2. Look for shade. You want even lighting across your subject(s), so look for shade that is even, like shade near a building. If you're using shade under a tree, it may be speckled and produce bright spots on faces or on other parts of the body like shoulders or hands. Bright spots are distracting and draw attention away from the faces.
Both of these pictures are in tree shade, but one is a better location choice than the other.
In this picture, the shade is uneven. There are bright spots on dad's sleeve, mom's arm, and baby's dress.
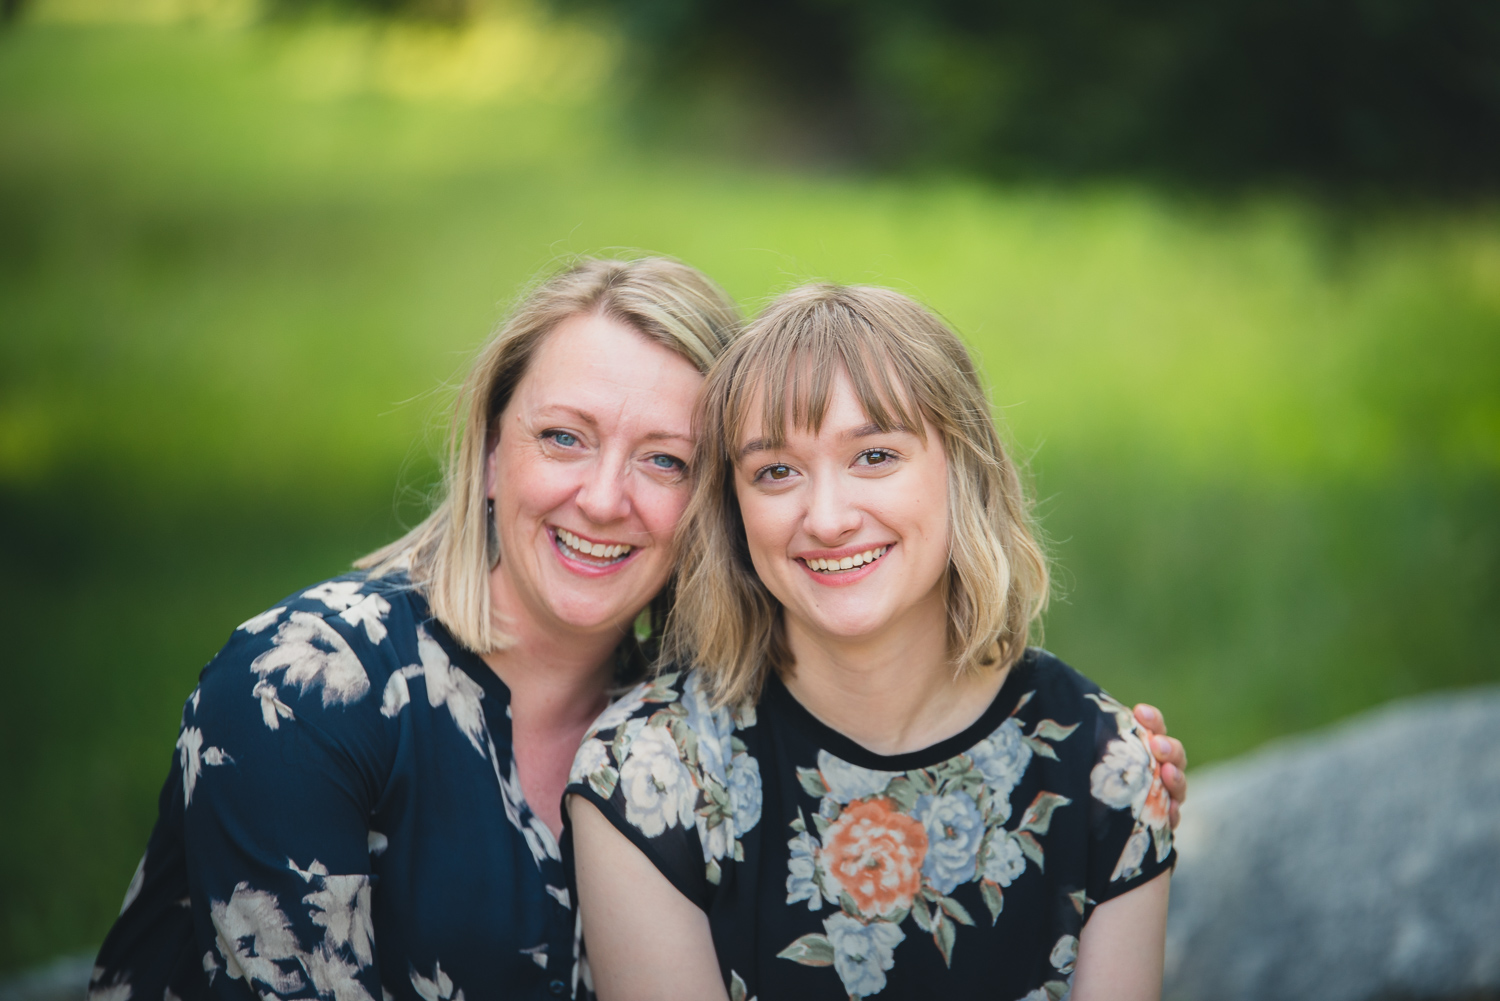
In this picture, the shade is even. Both subjects have equal lighting and there are no distracting bright spots.
3. Sunny vs. cloudy? Cloudy days are actually great days to take portraits. On sunny days, you typically want to take pictures in the morning or in the late afternoon. On cloudy days, you're not limited to the time of day when you're taking portraits. The clouds act as a diffusion of the sun's light, making it more even and soft. But even in cloudy days, try to locate the position of the sun behind the clouds. Sometimes facing the direction of the sun on cloudy days will help you achieve even lighting. Most times, however, you'll want to keep your subject's back to the sun.
Now that we've talked about some of the elements of great lighting in portraits, take a look at some of your pictures and try to find some of the things I've talked about. Do you see hard or soft shadows? If you have one subject, are there any unnaturally bright spots that take away from the face? If you have multiple subjects, are there any of them who are brighter or darker than the others?
We'll put some of the ideas into action in my next blog post. Stay tuned!


